Camera Ready Makeup Routine in 10 Steps and 10 Minutes.


Anyone who knows me, knows I HATE GETTING READY. I appreciate great hair and makeup, but man, do I loathe the process of getting “camera ready.” But for my job of hosting, interviewing, TV, and events, I need to be looking fly on the reg, and I can’t pay a makeup/hair artist each time. So I have my “Camera Ready Makeup Routine in 10 Steps and 10 Minutes.” I am DEFINITELY no makeup pro IN THE SLIGHTEST. I barely know anything about makeup honestly. But I know what makes me look great fast, and that’s enough for me! So, if you are like me, wanting great results in 10 minutes, then here ya go!
STEP 1: Revision Skincare Intellishade Matte Tinted Moisturizer SPF 45. USE SUNSCREEN! USE SUNSCREEN! USE SUNSCREEN! Do not skip this step bc you don’t have wrinkles yet, or you don’t have brown pigment sunspots yet. I have gone to great lengths to get rid of wrinkles and sunspots, so help yourself out and protect your amazing face! CLICK FOR LINK

STEP 2: NARS Luminous ALL DAY Foundation/ Medium/ Stromboli/ Sheer Glow Foundation. I put a quarter size on my hand, then lightly spread it w a bush all over my face. I don’t like cakey foundation, I only use a little to make my face even and smooth. I also go lightly over my neck and chest to make it all really blend. CLICK FOR LINK

STEP 3: NARS Medium Custard Concealer. I put this under my eyes and on any blemishes on my face. CLICK FOR LINK

STEP 4: NARS Soft Velvet Loose Powder: Mountain. I loosely put this all over my face and neck. CLICK FOR LINK
STEP 5: NARS Orgasm Blush. I suck my cheeks in and put this on the “apple” of my check. I kinda brush in a circle to make sure it’s not a harsh line. CLICK FOR LINK

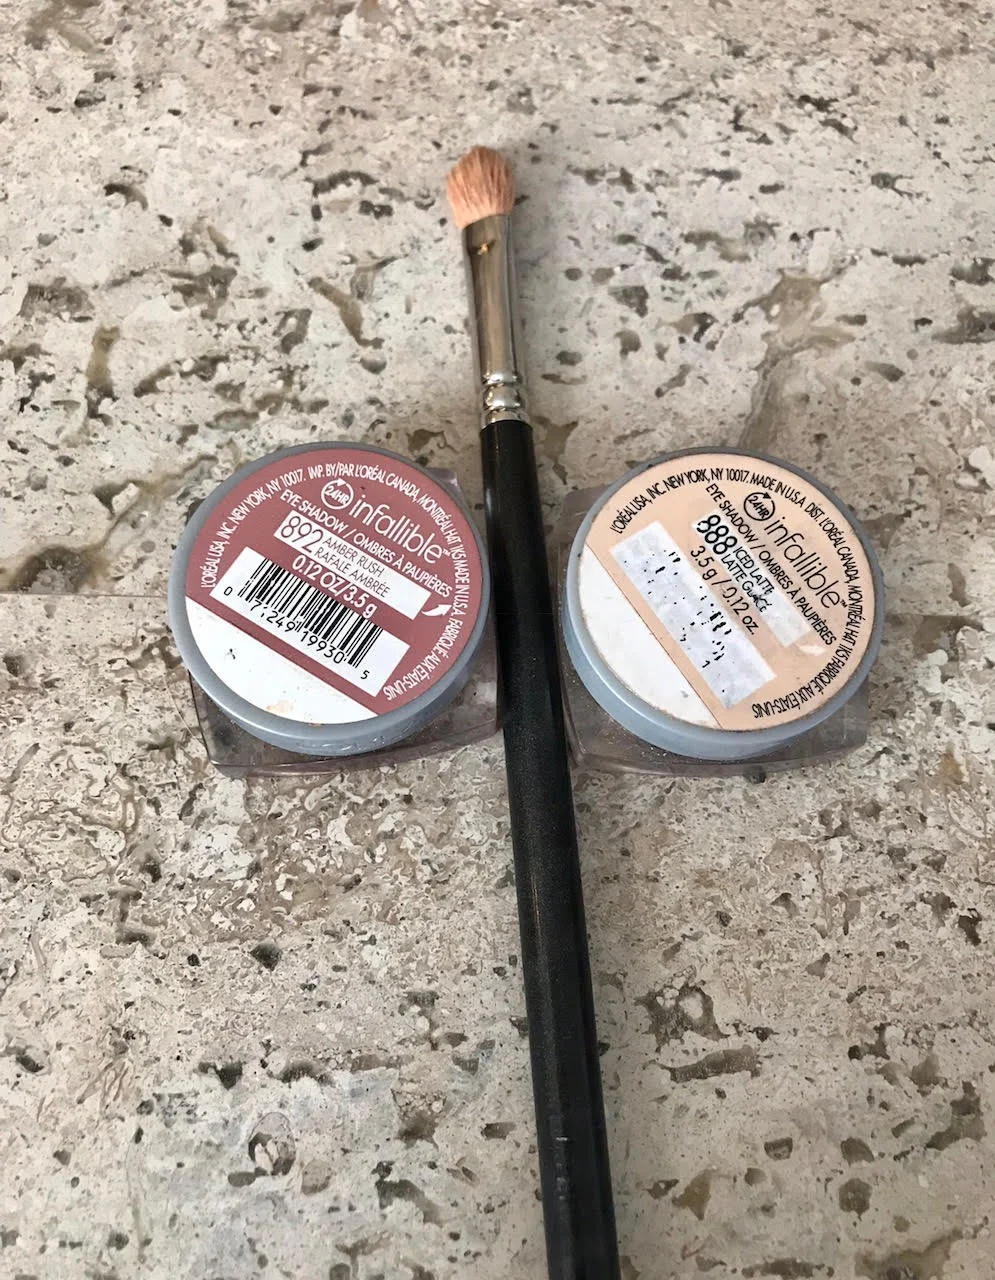
STEP 6: Infallible Eye Shadow from CVS. I don’t know how to do eye shadow, like at all. So I don’t worry too much about it. I buy drugstore eye shadow and I put the light “888 Iced Latte” all over my eyelid and then “892 Amber Rush” on the bottom/lower corners of my eyelid. Blend together.
STEP 7: Black Eye Liner Pencil (NARS is great, the kind that you need to sharpen). I put this on the waterline of my lower lid. I think it makes you eyes pop. I don’t usually put eyeliner on my top lid. CLICK FOR LINK
STEP 8: NARS Brow Perfector. I lightly fill in my entire brows, focusing on splotchy areas to make them look fluid and even. CLICK FOR LINK

STEP 9: ANASTASIA GLOW KIT. I dust the high part of my cheek, and make a “C” around the sides of my eye. Also dust the tip of my nose. CLICK FOR LINK

STEP 10: LIPSENSE LONG LASTING LIP COLOR. This takes a little effort to put on, and you have to order from a distributer, but it’s worth it if you need great color for a long period of time and don’t want to worry about having to reapply, smudging or getting lipstick on your teeth. Put the color on your lips, 3 coats. Try to move in one fluid stroke. Wait 45 seconds in between each coat of color. The put the clear gloss on top. Carry this gloss w you all day and keep reapplying as needed. I wear Cranberry, Blu-Red and Bella the most.
Email: janesford@gmail.com to place your order

(EXTRA STEP) 11. LASH EXTENSIONS. I go to "Lash Out" Nashville and use Danielle. This has been a GAME CHANGER for me. I hate putting on mascara and taking it off the most of anything. Lash Extensions last about 3 weeks and you always have perfect lashes. Lashes are an expense, but worth it for someone like me who always needs lashes on point. MAKE AN APPOINTMENT
THAT’S ALL IT IS FOLKS! I hope this was helpful, leave a comment if it was, and what else you want me to blog about!
XO, Caroline Hobby
